


在使用 Zig 构建高性能系統、遊戲引擎或低階嵌入式軟體時,處理編譯時期的泛型、標籤聯合與明確的記憶體管理模型,可能會讓整體系統架構的視覺化變得困難。Zig 結構視覺化工具將 Zig 的結構、標籤聯合(union(enum)),錯誤集合與函數指標轉換為清晰且可互動的架構圖。透過解析資料結構、成員類型、明確的配置器連結與方法合約,系統程式設計師與固件工程師能一目了然地視覺化低階 Zig 程式碼結構。
Zig 視覺化的工作原理
在 VPasCode 中,Zig 渲染會自動解析 struct宣告、union(enum)標籤區塊、error錯誤集合與函數定義轉換為結構化的視覺圖卡。結構體呈現為主要實體方塊,指標/切片欄位顯示記憶體邊界,而函數指標或編譯時期介面宣告則在視覺節點之間產生清晰的結構關係線。
1. 基本設定
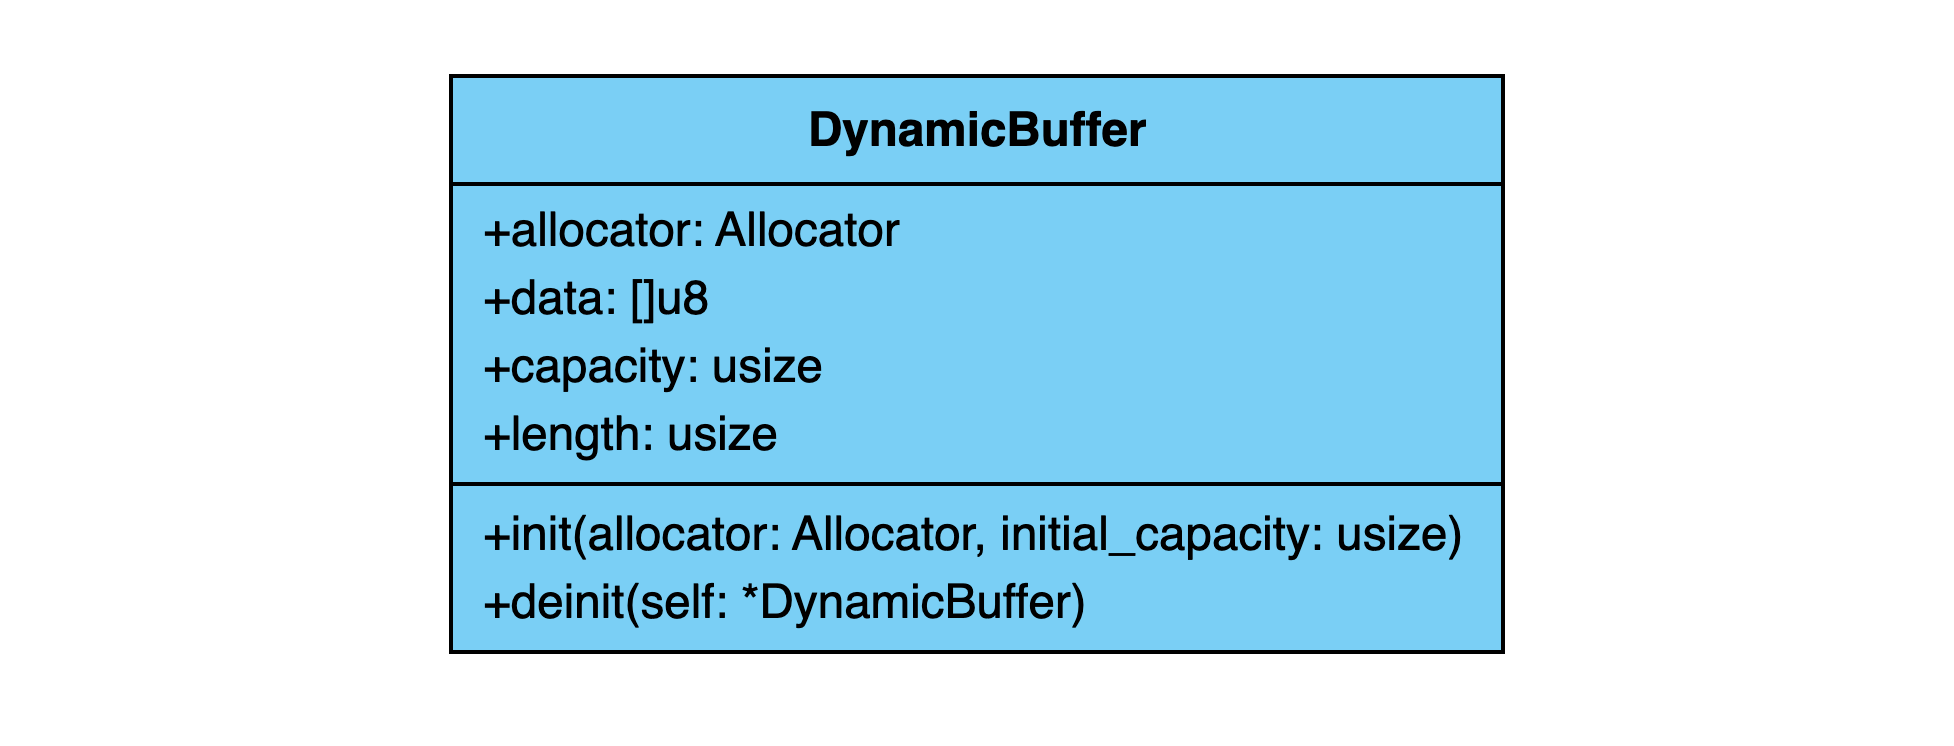
要視覺化標準的 Zig 模組,需定義結構體、錯誤集合與明確的記憶體配置邊界。一個記憶體管理的緩衝區容器可展現基本的 Zig 資料結構與手動配置器管理:
const std = @import("std");
const Allocator = std.mem.Allocator;

pub const BufferError = error{
    OutOfMemory,
    BufferOverflow,
    InvalidCapacity,
};

pub const DynamicBuffer = struct {
    allocator: Allocator,
    data: []u8,
    capacity: usize,
    length: usize,

    pub fn init(allocator: Allocator, initial_capacity: usize) BufferError!DynamicBuffer {
        if (initial_capacity == 0) return BufferError.InvalidCapacity;
        const memory = allocator.alloc(u8, initial_capacity) catch return BufferError.OutOfMemory;

        return DynamicBuffer{
            .allocator = allocator,
            .data = memory,
            .capacity = initial_capacity,
            .length = 0,
        };
    }

    pub fn deinit(self: *DynamicBuffer) void {
        self.allocator.free(self.data);
    }
};
進階結構技術
Zig 視覺化在繪製硬體暫存器、標籤狀態聯合與嵌入式微控制器驅動程式方面表現出色。
1. 嵌入式外設 GPIO 控制器
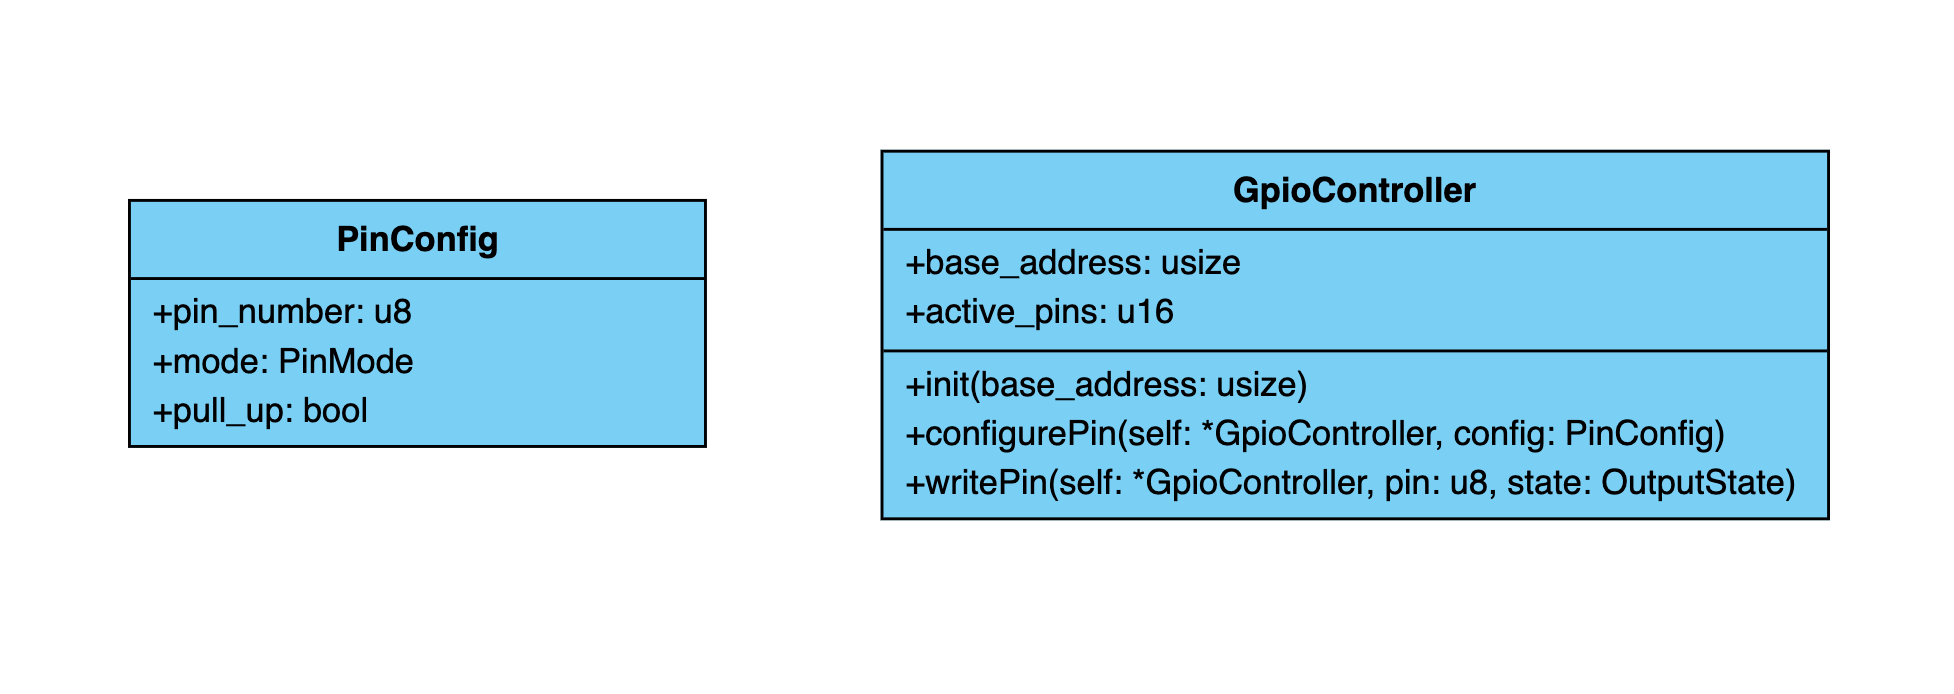
透過結合壓縮列舉、標籤聯合配置與裝置句柄結構體,VPasCode 能清楚地將低階固件架構分解為易於閱讀的視覺樹狀結構:
pub const PinMode = enum {
    input,
    output,
    alternate_function,
};

pub const OutputState = enum {
    low,
    high,
};

pub const PinConfig = struct {
    pin_number: u8,
    mode: PinMode,
    pull_up: bool = false,
};

pub const GpioController = struct {
    base_address: usize,
    active_pins: u16,

    pub fn init(base_address: usize) GpioController {
        return GpioController{
            .base_address = base_address,
            .active_pins = 0,
        };
    }

    pub fn configurePin(self: *GpioController, config: PinConfig) void {
        _ = self;
        _ = config;
    }

    pub fn writePin(self: *GpioController, pin: u8, state: OutputState) void {
        _ = self;
        _ = pin;
        _ = state;
    }
};
結構化事件迴圈與標籤任務管道
視覺化非同步事件迴圈、使用標籤聯合的任務載荷(union(enum)),以及執行佇列有助於後端系統工程師管理安全的記憶體配置。
1. 自訂非同步事件循環與工作佇列
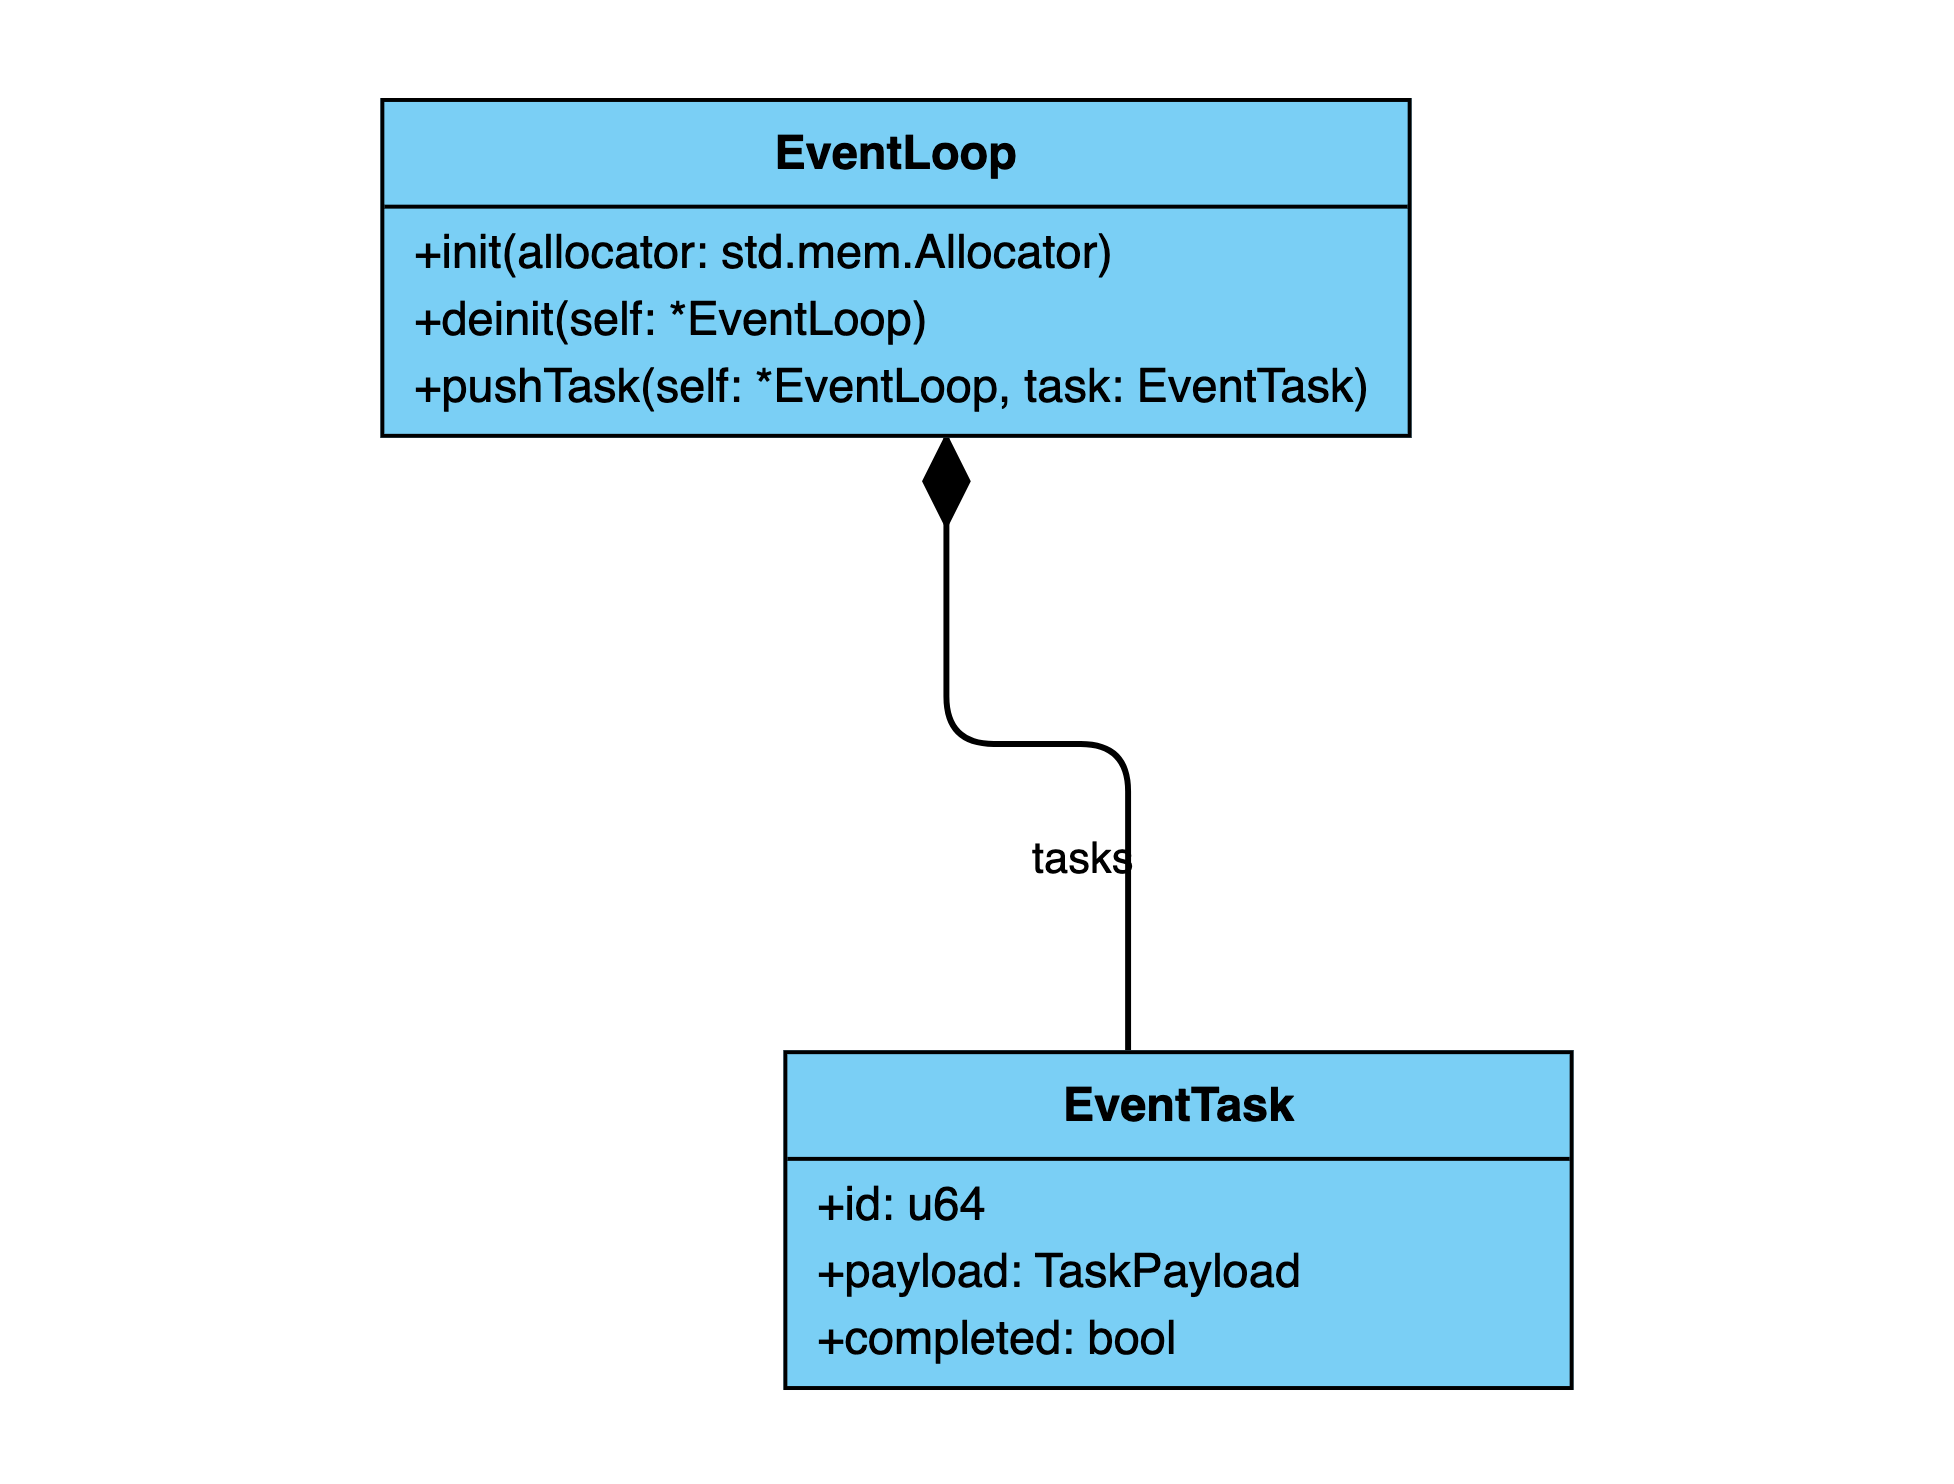
將工作載荷、工作狀態聯合與事件循環管理員分組,以劃定工作處理的邊界:
const std = @import("std");

pub const TaskType = enum {
    network_read,
    disk_write,
    timer_expired,
};

pub const TaskPayload = union(TaskType) {
    network_read: struct { socket_fd: i32, bytes_expected: usize },
    disk_write: struct { file_path: []const u8, data: []const u8 },
    timer_expired: struct { timer_id: u64 },
};

pub const EventTask = struct {
    id: u64,
    payload: TaskPayload,
    completed: bool,
};

pub const EventLoop = struct {
    tasks: std.ArrayList(EventTask),

    pub fn init(allocator: std.mem.Allocator) EventLoop {
        return EventLoop{
            .tasks = std.ArrayList(EventTask).init(allocator),
        };
    }

    pub fn deinit(self: *EventLoop) void {
        self.tasks.deinit();
    }

    pub fn pushTask(self: *EventLoop, task: EventTask) !void {
        try self.tasks.append(task);
    }
};
戰略最佳實務
- 使用明確的結構宣告:保持結構欄位類型清晰明確(例如,
allocator: Allocator),以便屬性節點能以明確的類型標籤呈現。 - 善用標籤聯合(
union(enum)):使用標籤聯合來建模變體載荷,而非未類型化的原始記憶體區塊,以實現類型安全的視覺化表示。 - 明確標記編譯時期參數:為編譯時期泛型或介面合約使用清晰的命名,以確保高階類型參數在視覺節點卡片上仍可讀。